Build a Custom DIY White Board for Any Space
Tired of standard sizes? Learn how to build a custom DIY white board. This guide covers the best materials, tools, and installation steps for any budget.
Tired of standard sizes? Learn how to build a custom DIY white board. This guide covers the best materials, tools, and installation steps for any budget.
Creating your own DIY white board is one of those surprisingly simple projects that gives you a high-quality, custom-sized writing surface for way less than you'd pay in a store. It's the perfect way to add a seriously functional and stylish touch to your home office, kitchen, or any creative space.
Let's be honest, store-bought whiteboards can be a letdown. They often come in standard sizes that just don't work for your wall, carry a hefty price tag, and have pretty generic designs. Building your own means you get to call all the shots.
Want a massive board that covers an entire wall for brainstorming? You can do that. Need something to fit a small, awkward nook in your kitchen for grocery lists? No problem.
The biggest win here is customization. You're not just picking a size; you get to choose the material, the frame style, and the finish to make it blend perfectly with your room's decor. You just can't get that level of personalization from an off-the-shelf product.
Another huge factor is the cost. It's no secret that whiteboard accessories are a big market—the whiteboard marker industry alone is expected to hit USD 850 million by 2025. That growth shows just how popular whiteboards have become, which makes a budget-friendly DIY option even more appealing than a pricey pre-made board. You can dive deeper into this growing trend in DataIntelo's report on the white board market.
The real value of a DIY white board lies in its ability to be exactly what you need it to be—no compromises on size, style, or function.
Ultimately, this project is all about creating a tool that truly works for you. It’s about boosting your productivity and organization with something that feels like it was made just for your space.
Picking the right material is probably the most critical decision you'll make for your DIY white board project. The surface you go with affects everything—the final look, how you'll install it, and how well it holds up over time. There's no single "best" option, so it’s all about matching the material to your specific needs.
Your main choices really boil down to three categories: whiteboard paint, adhesive films, and hard panels like melamine. Whiteboard paint is fantastic if you want a seamless, built-in look; you can turn an entire wall into a brainstorming space. On the other hand, adhesive films are a quick-and-dirty solution you can stick onto almost any smooth surface.
Hard panels are the classic choice, giving you a rigid, sturdy writing surface that feels a lot like a store-bought board. These are perfect for high-traffic spots where you need something tough, like a family command center in the kitchen or a busy home office.
If you’re looking for something less permanent or just easier to get up on the wall, adhesive films are a great way to go. For some inspiration on how versatile these can be, just look at how peel and stick vinyl materials for home renovation are being used in other projects. These films give you a surprisingly slick writing surface with hardly any fuss.
The best material isn't about what's "highest quality," but what actually fits your situation. A massive brainstorming wall has totally different requirements than a small, framed board for the kitchen.
This decision tree infographic is a great way to visualize which DIY path makes the most sense for you, from simply needing a board to picking the right approach.
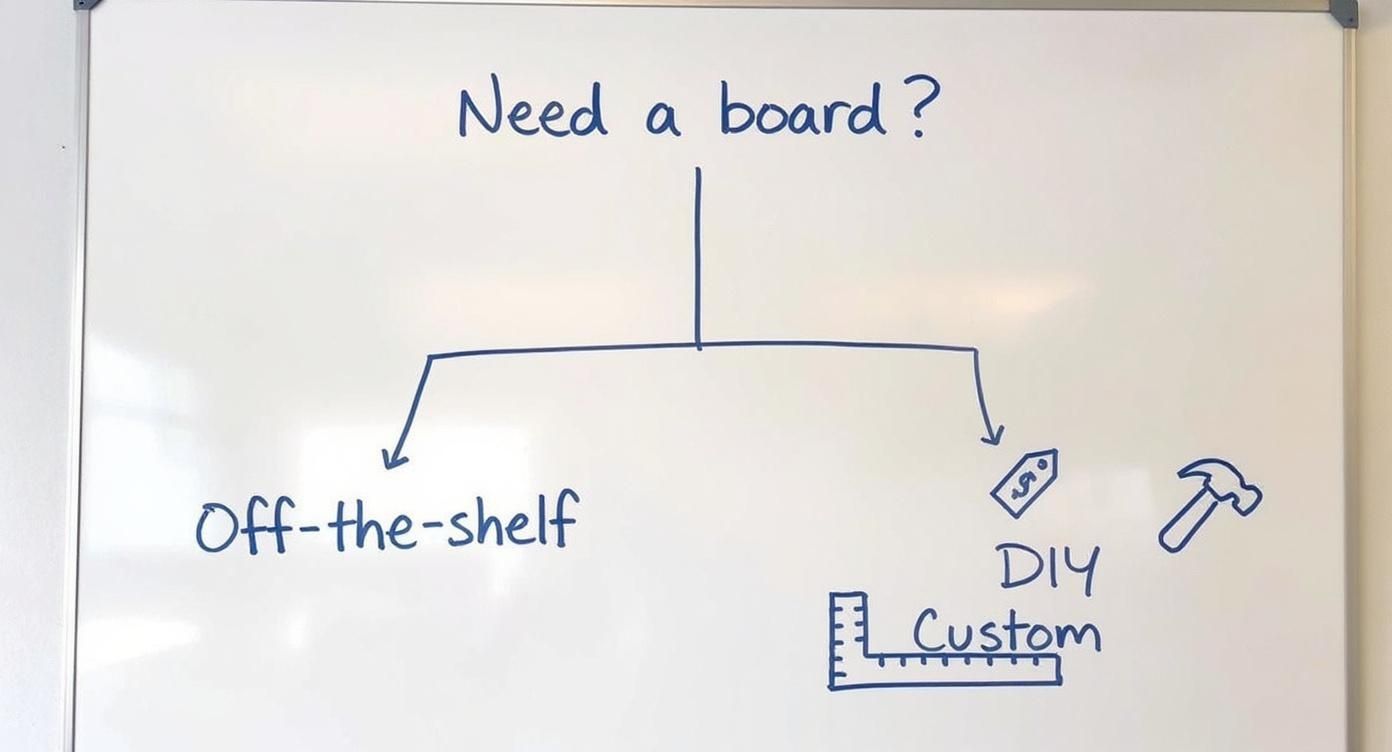
As you can see, going the DIY route opens up a ton of custom solutions you just can't find off the shelf.
To help you decide, here's a quick comparison of the most common materials, looking at what you can expect in terms of cost, effort, and what they're best suited for.
Ultimately, this table shows there's a trade-off between cost, ease of installation, and the final look. Let's dig a little deeper into what these specs mean in the real world.
Here’s a breakdown of what you're really getting into with each option:
Whiteboard Paint: This is usually a two-part epoxy that cures into a super durable, non-porous surface. It demands careful prep work and a few coats, but the result is a professional, integrated finish. It's hands-down the most customizable option for size and shape.
Adhesive Film: Think of this as a giant, high-quality sticker. You'll need patience to apply it without getting bubbles, but it's fast and there's no drying time. It’s an awesome choice for renters or for slapping onto existing surfaces like refrigerators or cabinet doors.
Melamine Panels: You can find these at just about any hardware store. They're cheap and easy to cut to any size you need. The downside? Cheaper melamine can be prone to "ghosting"—where old marker stains stick around—more so than the other options.
Trust me on this one: having the right gear on hand is the difference between a frustrating weekend project and a professional, long-lasting finish. Before you even think about popping open a can of paint or cutting a panel, taking a few minutes to get organized will save you a massive headache later.
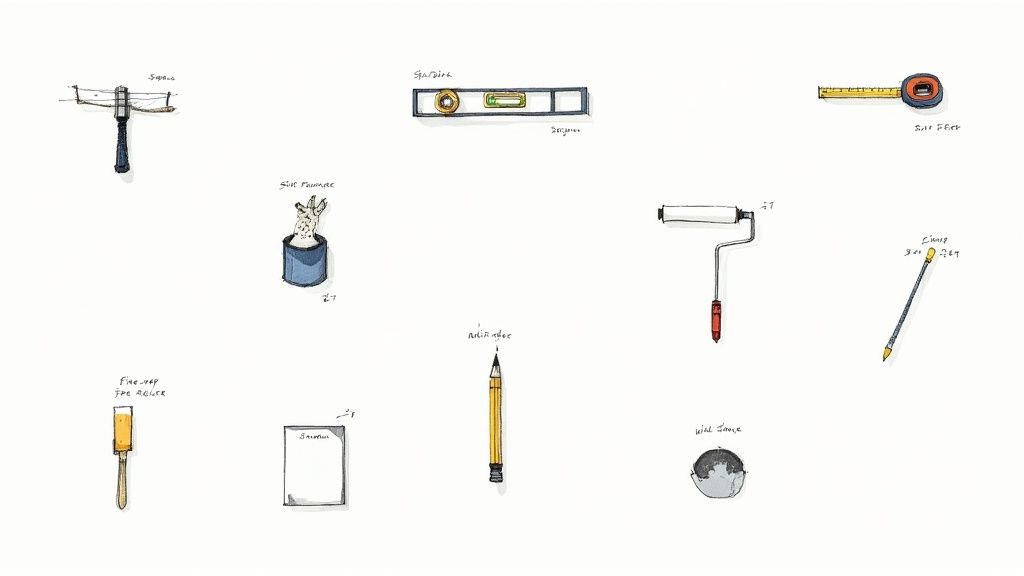
No matter what material you've chosen, there's a core set of tools that every builder needs. These are the non-negotiables that make sure your board is level, straight, and safely attached to the wall.
Beyond the basics, your shopping list will change completely based on the type of whiteboard you’re making. You wouldn't use the same roller for epoxy paint that you would for smoothing out an adhesive film.
The most common mistake I see is people trying to make do with the wrong applicators. Using a cheap, fuzzy roller with whiteboard paint, for instance, will leave you with a bumpy, lint-filled surface that's impossible to write on smoothly.
Here’s a quick breakdown to help you shop smart:
For a Painted Whiteboard:
For an Adhesive Film Whiteboard:
For a Melamine Panel Whiteboard:
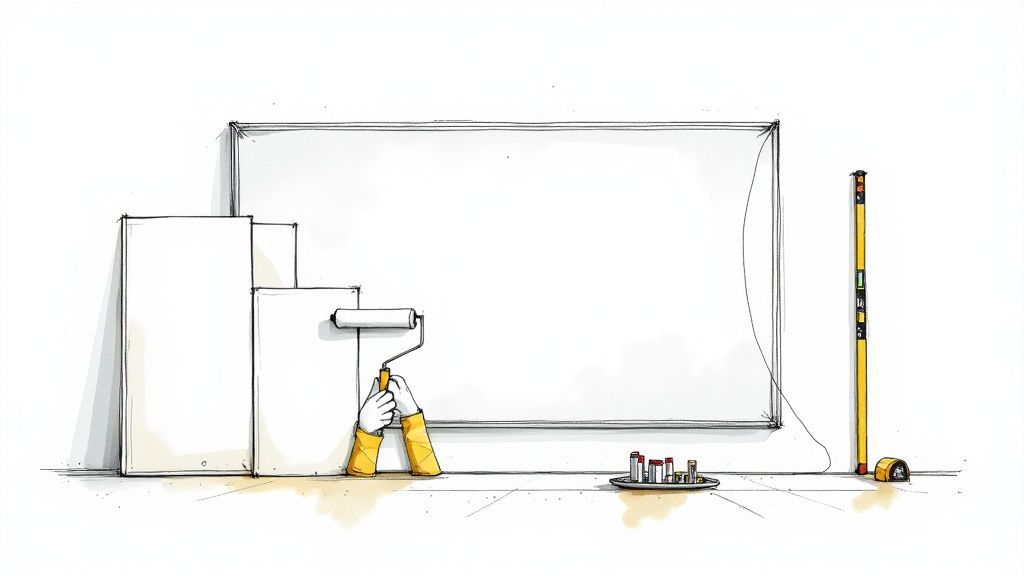
Alright, this is where the fun begins. You've got your materials and your tools, and now it's time to bring that vision for a custom DIY white board to life. Getting from a pile of supplies to a finished product takes a bit of patience and a steady hand, but the result is a professional-looking board that fits your space perfectly.
The whole process really boils down to three main stages: prepping the surface, applying your material of choice, and getting it mounted on the wall.
Whether you're painting an entire wall, sticking on a film, or hanging a solid panel, your success hinges on starting with a clean slate. Seriously, don't skip this part—any bit of dust, grease, or bump on the wall will absolutely show through in the end.
First thing's first: give the wall a good cleaning with some mild detergent and water, and then let it dry completely. If you're dealing with a textured wall, a light sanding followed by a wipe-down with a damp cloth will give you that ultra-smooth base needed for a flawless finish. And if you're painting, this is the moment to break out the painter's tape to get those crisp, clean edges for your whiteboard area.
A common mistake is skipping the wall prep. Dust and grime can prevent proper adhesion for films and paints, leading to peeling or bubbling down the road. Taking an extra 15 minutes here saves hours of frustration later.
Once your surface is spotless, you're ready for the main event.
Your application method will completely depend on the material you chose, and each one has its own little quirks. Nailing this part is what makes the difference between a board that looks amazing and one that… doesn't.
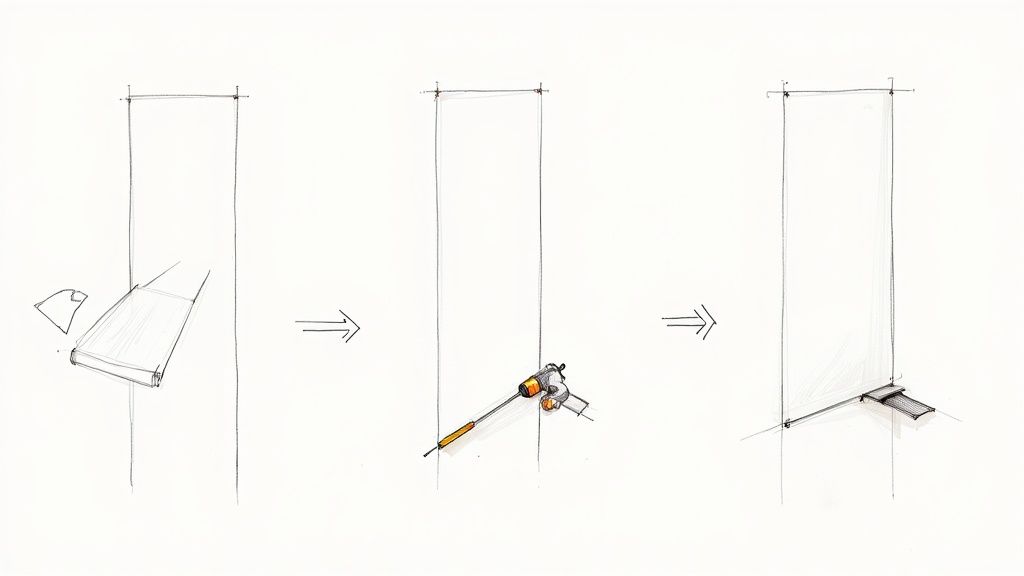
The final stretch! Getting your creation safely up on the wall. If you went with paint or film, you're pretty much done. But for panels, proper mounting is essential for both safety and stability.
Grab a stud finder and locate the wall studs where you plan to hang the board. This is non-negotiable for anything heavy like glass or a big melamine panel. Drywall anchors alone just won't cut it and aren't safe enough to hold the weight.
Mark your drill holes on both the panel and the wall, using a level to make sure everything is perfectly straight. Drill your pilot holes, then use the right screws or mounting hardware to fasten the board securely. Taking the time to hit the studs means your DIY white board will be a durable and reliable tool you can count on for years.
With your DIY white board built and mounted, it's time for the fun part—the finishing touches that take it from a functional panel to a piece of decor. It’s these small details that really make it feel like a professional installation.
Consider adding a minimalist wood frame to give it a polished, intentional look. You could also install a slim, floating shelf just below it. It's the perfect spot for your markers and erasers, keeping everything neat and within arm's reach.
For a more modern vibe, try installing LED backlighting. This creates a subtle glow that makes the board pop, turning it into a real focal point in a home office or creative studio. These small upgrades don't take much effort but go a long way in integrating the board into your space.
Now that you have this great new tool, you'll want to keep it looking sharp. Proper maintenance is the secret to a long, ghost-free life for your whiteboard surface.
Regular cleaning is non-negotiable. I always recommend using a gentle non-toxic surface cleaner with a soft microfiber cloth. This combo works perfectly to wipe away fresh marks without scratching the finish or leaving behind any chemical buildup.
Pro Tip: For those stubborn, dried-on marks that just won't budge, a cloth lightly dampened with 99% isopropyl alcohol is your best friend. Just use it sparingly—overdoing it can wear down certain finishes over time.
A little bit of care goes a long way. After all, the traditional whiteboard market is projected to grow to USD 0.35 billion by 2035, which just shows how valuable these simple tools are. By taking care of your DIY version, you're making sure it stays a reliable part of your workflow for years to come.
When you're diving into a DIY white board project, a few questions almost always come up. Getting these sorted out ahead of time can save you a ton of headaches and make the whole process go a lot smoother. Let's tackle some of the most common ones I hear.
The number one enemy of any whiteboard is "ghosting"—those stubborn marker stains that just won't erase. The best defense is a great surface. If you're going with whiteboard paint, you absolutely have to let it cure for the full recommended time, which can be anywhere from 3 to 7 days. Be patient; it's worth it. Also, stick to high-quality dry-erase markers and give the board a regular cleaning with a proper whiteboard spray and a microfiber cloth.
Absolutely, and it's a fantastic upgrade. The simplest way is to apply a few coats of magnetic primer to your wall or panel before you add the final whiteboard surface. The key here is that more coats equal a stronger magnetic pull. Once that primer is bone dry, you can apply your whiteboard paint or film right on top for a slick, dual-function board.
What about those really tough stains that a normal cleaner can't touch? Your secret weapon is a cloth dampened with 99% isopropyl alcohol. Just use it sparingly. Whatever you do, stay away from abrasive cleaners—they'll permanently scratch and ruin the writing surface.
At the end of the day, how long your DIY whiteboard lasts really comes down to the material you choose. While nothing beats professional-grade porcelain steel, a good two-part epoxy whiteboard paint is incredibly durable and more than enough for most home or office projects.
If you're looking for a solid surface instead of paint, tempered glass and high-quality acrylic panels are stellar choices. They fight off ghosting and scratches way better than cheap melamine, making them a smart long-term investment, especially if the board will see a lot of action.
If you're a Kickstarter creator juggling a complex project, nailing the post-campaign details is everything. PledgeBox offers a powerful pledge manager to simplify follow-up tasks. It’s free to send the backer survey and only charges 3% of the upsell if there's any.
Think of the standard Kickstarter pledge manager like Amazon, and the PledgeBox pledge manager like Shopify—it gives you the freedom and control to customize everything and grow your project even after the campaign ends.
The All-in-One Toolkit to Launch, Manage & Scale Your Kickstarter / Indiegogo Campaign