A miniature city model kit is your ticket to crafting a tiny metropolis from scratch. It’s an incredibly rewarding hobby that sits right at the intersection of art and engineering, giving you the chance to build anything from a real-world skyline you love to a sprawling fantasy city from your imagination.
This isn't just about gluing plastic together; it's a way to decompress and get lost in a project where the satisfaction comes from watching a world take shape, piece by piece.
So, you’re ready to dive into the world of miniature city building? Fantastic. This is more than just a hobby—it's your chance to be an architect, a city planner, and a storyteller all rolled into one. The real magic of a miniature city model kit is that it combines intense, focused work with total creative freedom. The end result? An incredible feeling of accomplishment when you step back and look at the tiny, detailed city you built with your own two hands.
You’re joining a massive community of creators who do everything from replicating downtown Manhattan to designing futuristic Martian colonies. This guide is here to walk you through it all, giving you the practical know-how to turn that box of parts into a display-worthy piece of art.
You're not alone in loving this stuff. The global plastic model kit market, which includes these amazing cityscapes, was recently valued between USD 2.82 to 3.0 billion. And it's not slowing down—projections show it could hit nearly USD 5.0 billion by 2033. That boom reflects a huge comeback for tactile, creative hobbies that give us a much-needed break from our screens.
A lot of creators are even turning their passion projects into full-blown businesses through crowdfunding. Of course, running a campaign and managing all those pledges and rewards is a project in itself. The whole process of developing a physical product for backers is a deep topic, much like building a complex model. For a closer look at that process, check out our guide on crafting a crowdfunding prototype.
When it comes to managing a campaign, your choice of platform is huge. You can think of the Kickstarter pledge manager as the Amazon of the space—a massive, all-in-one marketplace. PledgeBox, on the other hand, is more like Shopify; it gives you far more customization and direct control over the experience.
The best part? PledgeBox is free to send the backer survey. The platform only takes a 3% fee on upsell revenue if you generate any, which makes it an incredibly cost-effective way for creators to maximize their funding.
Ready to lay the foundation for your own miniature metropolis? Let's get started.
Every great model starts with a great workspace. Before you even crack open your new miniature city model kit, taking a moment to set up your area will save you a ton of headaches later. Think of it like a chef prepping their kitchen—it makes the whole creative process smoother and way more fun.
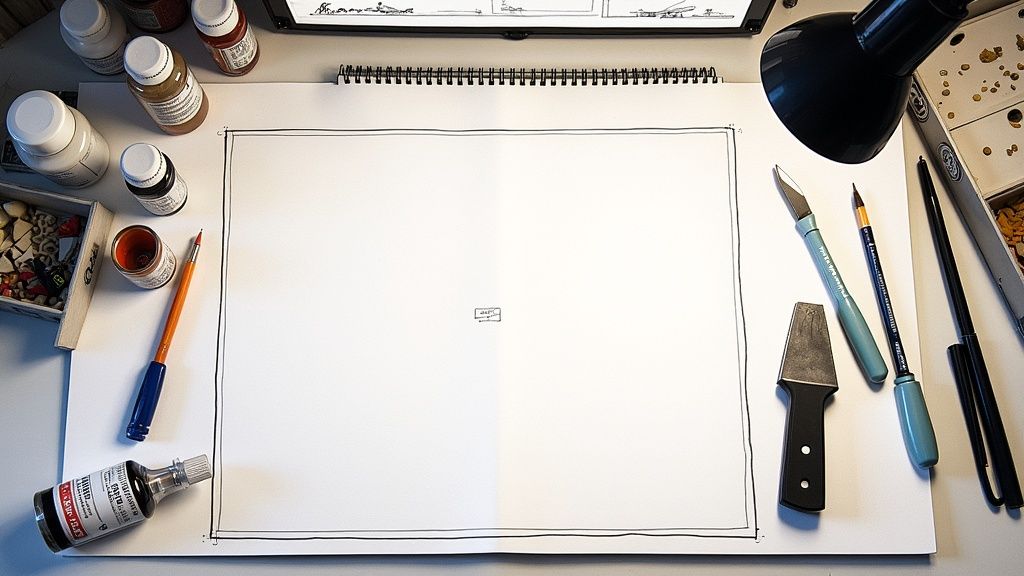
This is more than just a shopping trip; it’s about knowing why you need certain tools. A good pair of sprue cutters, for example, gives you a clean, precise snip that a regular knife just can't match, preventing you from accidentally snapping a delicate part. And trust me, a self-healing cutting mat is a must-have. It protects your desk, keeps your blades sharp, and pays for itself in the long run.
Building out your toolkit is part of the fun, and you don't need everything at once. But there are a few core items that will make your first build a breeze.
A tidy workspace is a happy workspace. Learning how to organize art supplies like a pro will help you keep your momentum going instead of constantly searching for that one tool you just had.
Here’s a quick guide to help you figure out what you need now versus what you might want later as you get deeper into the hobby.
This table should give you a solid starting point for building your kit without feeling overwhelmed. You can always expand your collection as you tackle more ambitious projects!
Once you get the hang of the basics, you can start adding tools that give you more control and unlock new creative possibilities. A pin vise is a tiny hand drill that's perfect for adding custom wiring or battle damage. Fine-point tweezers are a lifesaver for placing those impossibly small components. These aren't just gadgets; they're investments that make the hobby more rewarding.
This hobby is bigger than you might think. The miniatures market was recently valued at USD 1.8 billion and is expected to hit USD 3.65 billion by 2033, driven by awesome new tech and a passionate community of builders. Many of these creators are even launching their own kits on crowdfunding platforms.
If you're managing a crowdfunding campaign, think of the standard Kickstarter pledge manager like Amazon—a massive, one-size-fits-all platform. A tool like PledgeBox is more like Shopify, giving you more control and a better experience for your backers. Best of all, PledgeBox is free to send the backer survey and only charges 3% of upsell revenue, making it a no-brainer for creators.
Whether you're building a kit or launching one, having the right tools is what separates a frustrating experience from a successful one. For creators, that includes digital tools too. You might want to check out the complete list of tools for a successful Kickstarter campaign to make sure your project is as well-equipped as your build station.
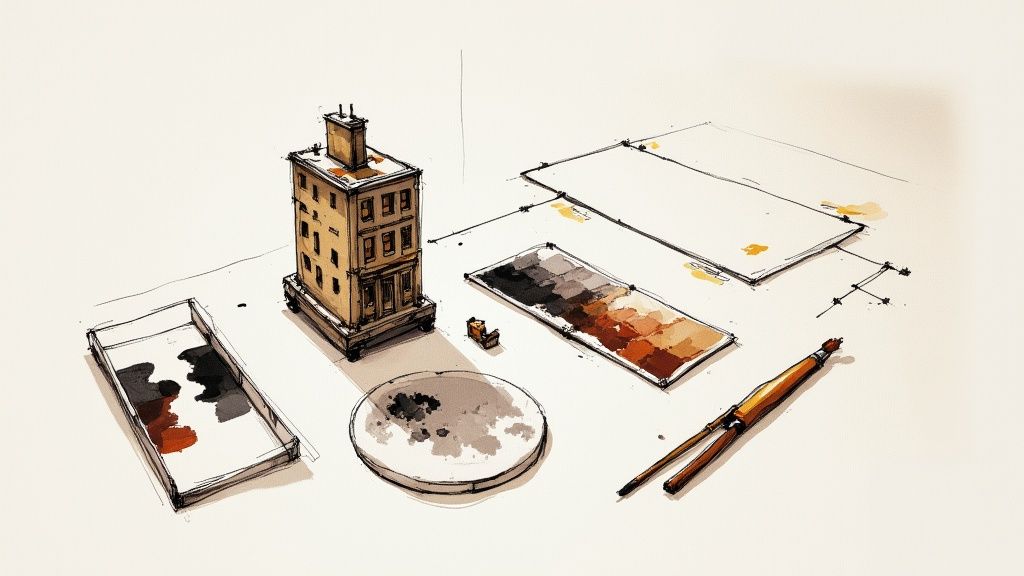
Now that your workspace is ready, it’s time to lay the first bricks of your metropolis. The initial assembly of a miniature city model kit is where patience and a steady hand really pay off. This is where you transform a flat sheet of plastic into the 3D structures that will eventually create your city’s skyline. It’s less about speed and more about methodically building a strong, clean foundation for all the cool details you'll add later.
Before you snip a single piece, take a moment to really look at the instructions. Don't just treat them as a rigid manual—think of them as a roadmap. Understanding the order of operations helps you see tricky connections coming and plan your workflow. I’ve found it incredibly helpful to grab a parts tray or even just a few small bowls to organize components by assembly step. This small bit of prep work saves you from that frantic search for "Part C-7" when you’ve got glue on the applicator.
This visual guide breaks down the simple but crucial workflow for getting your model’s components ready for assembly.
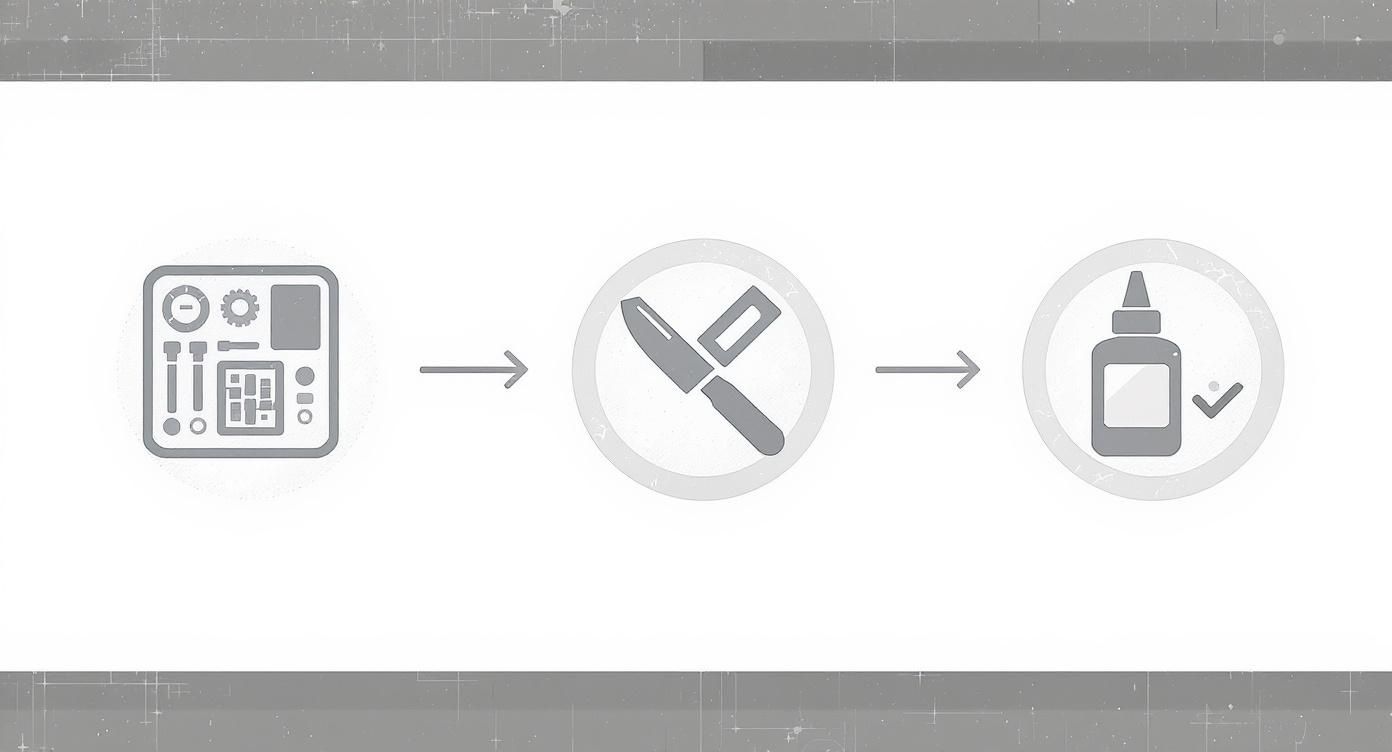
This simple three-stage process—Organize, Clean, and Assemble—is the backbone of every successful build. It ensures each piece is perfectly prepared before it’s permanently joined.
Your first real task is getting the parts off their plastic frame, which is called a sprue. Using your sprue cutters, snip the part away from the frame, but don’t cut it perfectly flush against the part itself. Leave a tiny bit of the connector plastic, known as a "nub." This little trick prevents you from accidentally putting stress marks or gouges in the piece.
Once a part is free, grab a sharp hobby knife and carefully shave down that remaining nub until it's completely smooth. Now is also the time to look for mold lines—those faint raised lines where the two halves of the production mold met. You can gently scrape these off with the back of your hobby knife or smooth them down with a fine-grit sanding stick. It might feel a bit tedious, but clean parts are what lead to seamless, professional-looking connections.
The most critical habit you can develop is test-fitting. Before a single drop of glue touches the model, press the parts together. This simple action will show you any alignment issues, remaining nubs, or warped sections that need fixing before you make a permanent mistake.
When you’re sure the parts fit together perfectly, it’s glue time. For plastic models, you really want to use a dedicated plastic cement. It works by slightly melting the plastic surfaces, which creates a chemical weld far stronger than a simple surface bond.
Use the cement sparingly. A brush applicator is fine for larger surfaces, but for tiny connection points, a tube with a needle applicator gives you much better control and prevents messes.
No matter how careful you are, you'll eventually run into a few common hiccups. Here’s how to handle them:
This is where the magic happens. Paint is what takes your collection of plastic parts and turns it into a living, breathing metropolis. The painting process is how you give your city a story and a soul, transforming it from a kit into a world of its own. But before we get to the fun colors, there's a foundational step that separates a good-looking model from a great one.
I know it's tempting to jump right in, but you have to prime your model first. A light coat of primer is non-negotiable; it gives the paint something to grab onto. Without it, you'll find your paint beading up, looking patchy, or even chipping off down the line. A neutral gray primer is my go-to because it provides a perfect base without messing with the true tones of the colors you'll add on top.
Once everything is primed and dry, it's time to lay down your base coats. Think of this as blocking in the main colors—the concrete of the sidewalks, the asphalt of the roads, and the primary shades of your buildings. For big, flat areas like walls and roofs, an airbrush is your best friend for getting a super smooth, even finish. If you're going that route, you'll want to know how to thin acrylic paint for airbrushing to get the right consistency.
After those base colors are completely cured, the real artistry begins. A few simple techniques will add incredible depth and realism.
A quick pro-tip: Cities are never perfectly clean. To fake years of grime and shadow, use a dark wash. Just thin down some black or brown paint until it's watery, brush it over an area, and let it sink into all the cracks and crevices. A quick wipe with a cloth removes it from the raised surfaces, leaving you with instant depth.
Weathering is storytelling. It’s what makes a building look like it has survived decades of rain, sun, and city grit. You don't need fancy equipment to pull this off, either.
One of my favorite simple tricks is stippling. Grab a small piece of sponge with some tweezers, dip it in a bit of brown or orange paint, and dab it on metal fire escapes or rooftops. The irregular pattern creates a perfect rust effect.
For chipped paint, just take a fine-tipped brush with a tiny amount of dark gray or metallic paint and carefully touch the edges of windowsills or door frames. This makes it look like the top layer of paint has worn away, revealing the material underneath and giving your buildings a true sense of history.
Alright, the heavy lifting is done. With the main construction and painting out of the way, you’ve arrived at my favorite part of any miniature city model kit: bringing it to life. This is where you stop being a builder and start being a storyteller, transforming a well-made model into a unique diorama with a soul.
This is your chance to decide the narrative. Is this a gleaming, futuristic metropolis, or a forgotten town with stories etched into its weathered walls? The final details are what make your city feel authentic and lived-in.
A city needs ground to stand on. Building out the surrounding environment is the first step in making your model feel like a real place instead of something just sitting on a shelf.
It's the little things that have the biggest impact. Think about all the street furniture you see every day—most of it goes unnoticed until it's missing. You can buy these bits and pieces from specialty stores or have fun making them yourself.
Consider adding a few of these to your scene:
These elements add layers of story and make your model a world people want to get lost in.
If you really want to create something no one has ever seen before, you have to try kitbashing. This is the art of taking parts from different model kits and mashing them together to invent entirely new buildings and vehicles. It’s a fantastic way to ensure your city is truly one-of-a-kind.
This drive for deep personalization is a huge part of the hobby's appeal. In a similar space, the dollhouse industry was valued between USD 1.2 to 1.24 billion and is expected to more than double by 2030. A lot of that growth comes from people discovering the joy of creative, hands-on hobbies and DIY kits that let them express themselves. As e-commerce makes niche hobbies more accessible, more people are getting into creating their own miniature worlds. You can read more about the miniature market's growth and trends.
For anyone thinking of launching their own miniature city model kit on Kickstarter, managing all those personalization options for your backers is critical. This is where your pledge manager comes in. The default Kickstarter pledge manager is like Amazon—a giant, one-size-fits-all marketplace. A dedicated tool like PledgeBox, on the other hand, is more like Shopify, giving you way more control and branding power. Better yet, PledgeBox is free to send the backer survey and only charges 3% of upsell revenue, making it a smart and powerful choice for creators.
Even the most seasoned modeler runs into a few snags with a miniature city model kit. Little hiccups are just part of the hobby, but knowing how to handle them can keep your project moving smoothly. Let's walk through some of the most common questions and challenges builders run into.
What is the best type of glue to use?For most of the plastic parts, you’ll want a good polystyrene cement. This stuff isn't just sticky; it actually melts the plastic pieces together, creating a permanent, welded bond. But keep it away from clear parts like windows! For those, stick with PVA glue—it dries totally clear and won't cause that ugly fogging effect.
Do I really need to prime my model?One hundred percent, yes. Don't skip this step. A good primer coat gives your paint something to grab onto, ensuring it goes on smoothly and stays there. If you paint directly onto bare plastic, you'll likely end up with a patchy, uneven finish that rubs off with the slightest touch.
Anticipating and solving problems ahead of time is a huge part of any creative project, whether you're building a model or launching a product. It saves a ton of headaches and always leads to a better result. In the crowdfunding world, smart creators often use targeted feedback to spot product issues early, which helps make the launch a success for everyone.
How can I fix a mistake after the glue is dry?It depends on the glue you used. If it was plastic cement, that bond is now permanent. Your only option is to carefully slice the pieces apart with a sharp hobby knife, then sand the surfaces down before trying to glue them again. If you used super glue, you might be in luck. Pop the piece in the freezer for an hour or two. This can make the glue brittle enough to snap apart with a little pressure.
My small parts keep breaking. What can I do?Those tiny, delicate parts demand a gentle touch. Always use a sharp pair of sprue cutters to get them off the frame, and make sure to snip a little bit away from the part itself, not right up against it. Then, instead of trying to twist or pull the part free, use a hobby knife to carefully shave off that last little bit of plastic nub.
If you’re a creator thinking about launching your own kit, getting feedback on these tricky, delicate pieces is essential. When it's time to manage your backers and gather their thoughts, it helps to understand the different platforms. A Kickstarter pledge manager is a bit like Amazon—a massive marketplace. PledgeBox, on the other hand, is more like Shopify, giving you way more control and customization. Plus, PledgeBox is free to send the backer survey and only charges 3% of upsell if there's any.
Ready to manage your crowdfunding campaign with powerful, creator-focused tools? Visit PledgeBox and discover how our all-in-one toolkit can help you streamline surveys, boost upsells, and deliver for your backers. Learn more at https://www.pledgebox.com.
The All-in-One Toolkit to Launch, Manage & Scale Your Kickstarter / Indiegogo Campaign